A permalink structure, short for “permanent link structure,” refers to the format used to create the link, or URL for individual posts, pages, or other content on a website. This guide will explain how to change the permalink structure for the blog posts on your site.
This feature is available on plugin-enabled sites with our WordPress.com Personal, Premium, Business, and Commerce plans. If your site has one of these plans, make sure to activate it. For sites on the free plan, upgrade your plan to access this feature.
This is an example of a permalink for a blog post:
https://yourgroovydomain.com/2026/01/01/first-blog-post
In the example above, the section /2026/01/01/first-blog-post is part of the “permalink structure”. Plugin-enabled sites can use a custom permalink structure. For example, you can change the permalink structure to display just the blog post name, or slug of the permalink, e.g: https://yourgroovydomain.com/first-blog-post
If you want to customize the slug (or the last section of the URL e.g: first-blog-post in the example above) of the permalink address, you can follow the steps in this guide.
By default, WordPress creates post URLs with the date and name or title of the post. You can customize this URL structure of your site’s blog post links (i.e., the permalinks) to adjust the aesthetics and usability of your post links.
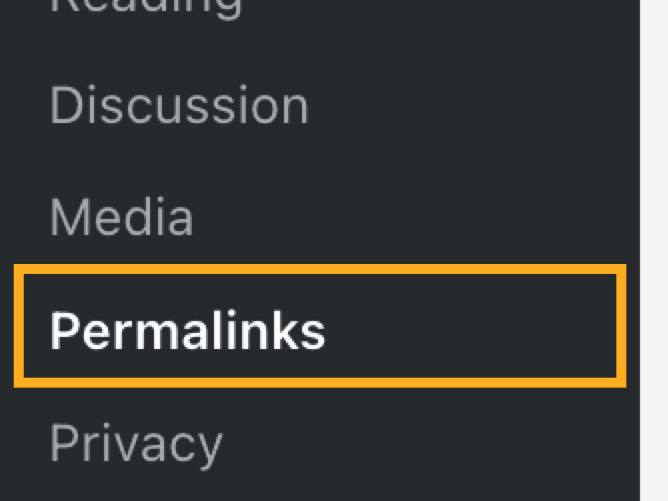
Take the following steps to customize your site’s permalinks:
- Ensure your site has an eligible plan that has been activated.
- From your dashboard, go to Settings → Permalinks.
- Choose from one of the following permalink structures:
- Plain
- Day and name
- Month and name
- Numeric
- Post name
- Custom structure
- Click the “Save Changes” button at the bottom of the screen.
⚠️
When changing the permalink setting, posts may not automatically redirect from the old links. To redirect old URLs to the new format, use a redirection plugin.
It’s common for blog owners to change the URL structure from https://yourgroovydomain.com/2026/01/01/post-title to remove the date, leaving https://yourgroovydomain.com/post-title as the URL.
This can be achieved with the steps below. Note that this will change the URLs of all published posts (past and future) and therefore a redirection plugin is required to ensure the old URLs don’t lead to error pages.
- Ensure your site has an eligible plan that has been activated.
- From your dashboard, go to Settings → Permalinks.
- For the Permalink structure, choose the “Post name” option.
- Click the “Save changes” button at the bottom of the screen.
- Install a redirection plugin. For these steps, we’ve chosen Redirection.
- Back in your dashboard, navigate to Tools → Redirection. If this is your first time using the plugin, you will need to go through the setup wizard before you can access the plugin settings.
- Under “Add new redirection,” click the downward arrow next to “Source URL” and ensure the checkbox next to Regex is enabled (in addition to “Ignore Case” and “Ignore Slash” that are enabled by default):

- Fill in the details as follows:
- Source URL:
^/\d{4}/\d{2}/\d{2}/(.*) - Target URL:
/$1 - Group: Redirections
- Source URL:
- Click the “Add Redirect” button:

Test your old post URLs to ensure they now successfully redirect to the new URL format. Please note that WordPress.com cannot provide support for redirection plugins or writing regex syntax. Consult the plugin documentation for further assistance with redirects.
You can adjust the post links to any format you like, such as removing the date from the URL for example. To use the Custom Structure option for your permalinks:
- Ensure your site has an eligible plan that has been activated.
- From your dashboard, go to Settings → Permalinks.
- Click the radio button next to the “Custom Structure” option.
- Click the button for each Available tag (see below) that you want to add the permalink in the order you want them to appear. For example, if you want the URLs to show only the title of the post, click on
%post_id%only. - Click the “Save Changes” button.

Below the Custom Structure option is a list of available tags. Each tag is a placeholder for the structure of your URL:
%year%– the year the post was published.%monthnum%– the numeric value of the published month.%day%– the numeric value for the day of the month.%hour%– the hour the post was published.%minute%– the minute the post was published.%second%– the second the post was published.%post_id%– the numerical value of the post, referred to as the “post ID”.%postname%– the “slug” of the post. The default slug is the title you gave your post, but if you changed the permalink the slug will be what you set up.%category%– the post’s category.%author%– the author of the post.
When a visitor navigates to a category or tags page, the URL will default to https://yourgroovysite.com/category/categoryname or https://yourgroovysite.com/tag/tagname.
If you want to change the word “category” or “tag” in the URL, take these steps:
- Ensure your site has an eligible plan that has been activated.
- From your dashboard, go to Settings → Permalinks.
- Navigate to the “Optional” section.
- Enter the Category base or Tag word you want to use.
- Click the “Save Changes” button.

To reset the category or tag base, clear out the text in the corresponding field (leaving it blank) and click the “Save Changes” button.
You may have additional options from plugins installed on your site. For example, if you have installed the WooCommerce plugin, you can change the permalink structure for product URLs.
Sometimes, you may encounter errors related to permalinks. A troubleshooting step you can take is to reset the permalinks by doing the following:
- From your dashboard, go to Settings → Permalinks.
- Take note of your current permalink structure settings.
- Select a different permalink structure and click the “Save Changes” button.
- Reselect the permalink structure you initially had.
- Click the “Save Changes” button again to reset your permalinks.
