A menu contains links to pages, blog posts, and other content so that your visitors can easily navigate around your site. This guide will show you how to add links to your menu.
Make your new content easy to find by adding links to your navigation menu. This guide shows you how, with additional design options available for Site Editor themes.
Your site’s theme type determines which instructions to follow. Go to Appearance in your site’s dashboard: if you see Editor, follow the Site Editor tab instructions. Otherwise, follow the WP Admin or Customizer tab instructions.
In the Site Editor, your menu is created using the Navigation block. Follow these steps to add a new menu item:
- From your site’s dashboard, navigate to Appearance → Editor.
- Select Templates and choose a template that includes your menu, such as Home or Front Page.
- Open List View in the top-left corner of your screen (it’s the icon that looks like three horizontal lines above each other.)
- Select the Navigation block, which may be nested inside other blocks like Header, Group, and Row.
- Click the + block inserter icon that now appears on the Navigation block.
- A pop-up will appear for you to add a new link. Choose from one of the following options:
- Choose from any of your recently updated pages.
- Search by name and select any published page, post, category, or tag. Private or draft content will not appear here.
- Manually type or paste to add any link (including an external one from a different site) to your menu.
- Create a new page.
- Click the “+ add block” link to add blocks to your menu.
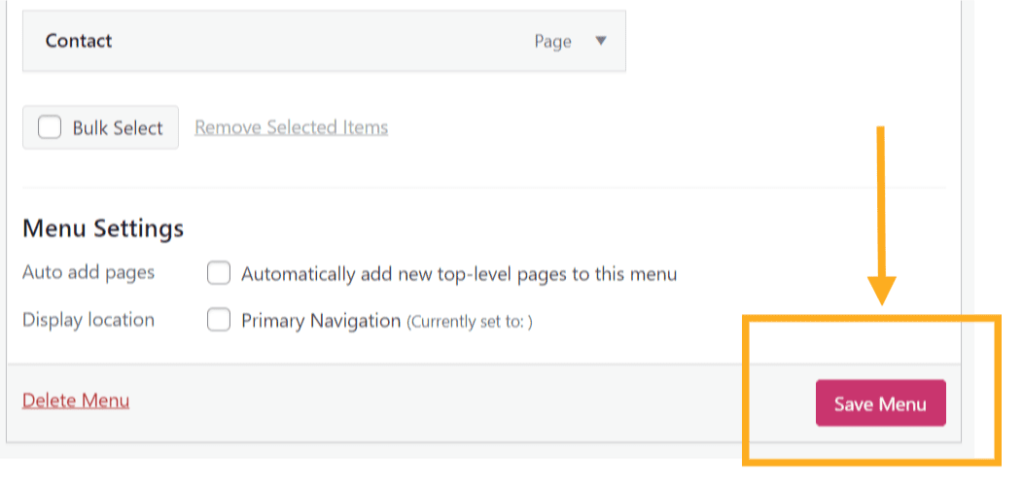
- Click the Save button to publish your changes.
Now that you have added the menu items, you can reorder the items, create dropdown menus, and do much more. Take a look at our menus documentation to learn what you can do.
Video tutorial


If you are using a Site Editor theme, you can add buttons, social links, a subscribe button, and more to your site’s menu. Follow these steps to add menu items to your navigation:
- From your site’s dashboard, navigate to Appearance → Editor.
- Select Templates and choose a template that includes your menu, such as Home or Front Page.
- Open List View in the top-left corner of your screen (it’s the icon that looks like three horizontal lines above each other.)
- Select the Navigation block, which may be nested inside other blocks like Header, Group, and Row.
- Click the “+ Block Inserter” icon that now appears on the Navigation block.
- Click the “+ Add block” option in the pop-up that appears:
- Your most recently used blocks will appear, so you can quickly select a block to add.
- Click the browse all button to choose from the design, widget, or theme blocks.
- Click Save to save your changes.
![]()
This section applies to sites created with the AI Website Builder (all paid plans) or sites that have enabled the AI assistant (Business and Commerce plans). Open the AI assistant by clicking the AI icon (a four-pointed star) at the bottom of the screen.
The AI assistant can add pages, external links, and email addresses to your menus directly. Here are some things you can ask it to do:
- “Add a new menu item called Blog that links to /blog in the main navigation.”
- “Create a menu item called Instagram that links to https://instagram.com/%5Byourhandle%5D.”
- “Link the Contact menu item to my email address instead of the contact page.”
- “Add a Privacy Policy link in the footer menu that points to /privacy-policy.”
Here is a list of each type of content you can add to your menu:
- Home link: a link to your site’s home page.
- Pages: a link to a page on your site.
- Posts: a blog post on your site.
- Custom Link: a URL linking to another website.
- Testimonials: a link to testimonials.
- Projects: a link to a page of your portfolio projects.
- Project Types: a link to a specific portfolio project type.
- Project Tags: a link to a specific portfolio project tag.
- Blocks: Choose from design, widget, or theme blocks (via the Site Editor method only), including:
- Buttons
- Subscriber login
- Subscribe
- Social Icons
- Submenu
- …and more
Some WordPress plugins add custom menu item types that appear alongside your standard options.
