You can verify your site with the Yandex search engine to unlock additional features and a quicker indexing process on Yandex.
In this guide
Have a question?
Ask our AI assistantWhile most site verification tools will ask you to add an “HTML tag” or “meta tag” to your site’s header, we’ve simplified the process by providing specific tools for adding the required tag to your website.
To access the site verification tools:
- Visit your site’s dashboard.
- Navigate to Jetpack → Traffic (or Jetpack → Settings, then click the Traffic tab on plugin-enabled sites).
- Scroll down to the “Site verification services” section.
In addition to the Yandex verification steps described in this guide, you can verify your site with Bing, Pinterest, Google, and Facebook.
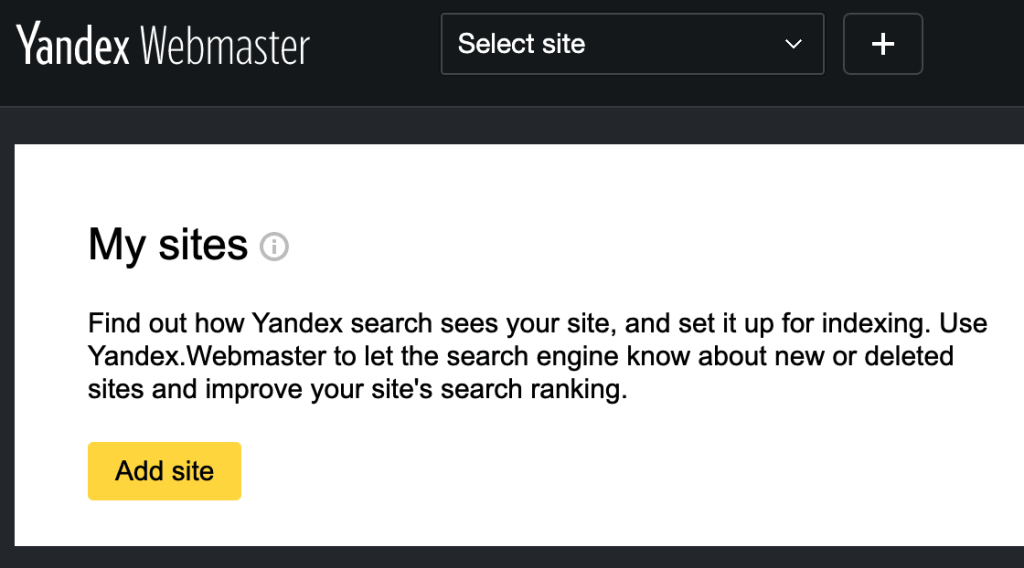
To get started, log in to https://webmaster.yandex.com/. If you don’t yet have an account, you can create one on the login screen.
- Click on “Go” to access the Yandex Sites list.
- Click “Add Site” to add your site.
- Enter your site address in the provided field, including the
https://, and click the “Add” button:

- On the next screen, select the “Meta tag“ option and copy the entire meta tag that looks like
<meta name="yandex-verification" content="7d71f47e63543e" />
- In a new browser tab or window, open your WordPress.com account and go to Jetpack → Traffic (or Jetpack → Settings, then click the Traffic tab on plugin-enabled sites).
- Scroll down to the “Site Verification Services” section, and paste the code you copied from Yandex into the Yandex section.
- Click “Save Settings“.

- Go back to the Yandex verification page and click “Check“.
