Use the Blog Posts block to insert a list or grid of blog posts (or pages, testimonials, or projects) on any page and use filter and display options to customize how they appear. This guide will show you how to display content using the Blog Posts block.
To add the Blog Posts block to a page, post, or template, take the following steps:
- Click the + block inserter button.
- Search for “blog posts” and click it to add a new Blog Posts block to the page.
- At first, the block will show your most recent posts. The next sections of this guide will show you how to customize which content appears and how it looks.
For more information, visit our detailed instructions on adding blocks.
💡
If you’re missing the Blog Posts block, it’s likely you are running a WordPress.org website. Install the experimental WordPress.com Editing Toolkit plugin to add the Blog Posts block to your self-hosted site.
After adding the Blog Posts block, you can customize which content appears inside of it with the following steps:
- Select the block and open the block settings on the side of the screen:

- Posts will be shown by default. To display pages, portfolio projects, or testimonials instead, scroll down to the “Post Types” setting and check the appropriate boxes.
- Additionally, you can use the “Additional Post Statuses” setting to also include draft and scheduled posts. As these types of posts are not visible to the public, they will only appear when the page is viewed by users with editing permission on your site. This is useful for editors and admins to see how a piece of content will appear before it is published.
- Scroll back up to the top of the settings and choose between two modes: dynamic and static.
- Dynamic displays items of content based on the criteria you select, and automatically updates with the latest content based on your chosen criteria. You can narrow down the content shown with the following settings:
- Number of items: Control how many items will be displayed up to a max of 30.
- Categories: Show items with a specific category or categories, including subcategories if you wish. In the dropdown, select “is one of” if the post can have at least one of the selected categories or “is all of” if the post must contain all the selected categories.
- Tags: Show items with a specific tag only.
- Authors: Select specific authors’ content to be displayed.
- Excluded categories: Do not show items with a specific category.
- Excluded tags: Do not show items with a specific tag.
- Static mode shows only specific pieces of content that you choose to display. Once enabled, you can add posts by typing the post titles, and choosing from the suggestions that will appear. Click on the post you want from those suggestions to add them to the block.
- Dynamic displays items of content based on the criteria you select, and automatically updates with the latest content based on your chosen criteria. You can narrow down the content shown with the following settings:
In addition, you can enable or disable the following settings:
- Allow duplicate stories: With this disabled, the content must not already be displayed elsewhere on the same page, such as in another Blog Posts block or in a Content Carousel block. A post, page, or other piece of content will only appear once on a single page unless you enable duplication.
- Show “Load more posts” button: In Dynamic mode, display a button to let visitors load more posts. You can customize this button text by clicking on it and adding your own text. This feature is available only for public sites.
- Infinite scroll: If supported by the theme, additional content items will load when the visitor scrolls to the end of the list.
If you add a Blog Post block and see the message “Sorry, no posts were found,” it’s likely that you have no published blog posts. You can go to your dashboard and click on Posts to make sure you have at least one published post.
Another reason for this message is that you might have more than one Blog Posts block (or another block that displays posts, like the Content Carousel block) on the same page and the “Allow duplicate stories” setting is turned off. This causes a post to only show once on a page, regardless of how many Blog Posts blocks you add. However, you can add multiple Blog Posts block onto a page if you set them to show different posts.
You can adjust how the Blog Posts block appears on your page with the following steps:
- Select the Blog Post block to bring up a toolbar:

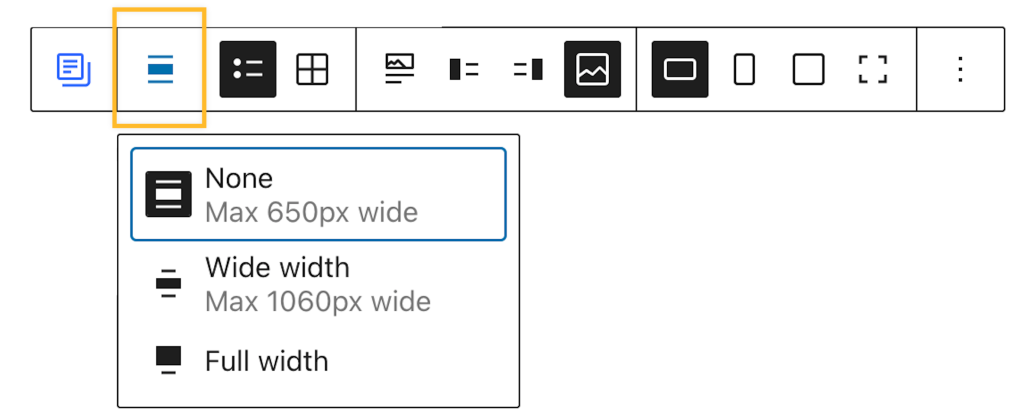
- Adjust the width of the block to show the content in a wide width (wide but with padding on both sides) or full width (spanning the screen from edge to edge with no padding).
- Choose between a list view or grid view. In grid view, you can change the number of columns in the block settings on the right:

- You can set the media location so that the image appears on top, to the left, right, or behind the text of the post:
- Use the last four buttons in the toolbar to show the image as landscape, portrait, square, or uncropped.
- Click the Save or Publish button to save your changes.
After selecting which content you want to appear in the Blog Posts block, you’ll find several options to further control how it appears:
- Select the block and open the block settings on the side of the screen.
- Scroll down to the Display section of the settings.
- Set the text to display an excerpt, the full post text, or no text at all. When excerpt is chosen, you can set the maximum number of words shown in the excerpts.
- You can also customize and have your own text instead of “Keep reading” for each post:

- Toggle on the “Show Featured Image” option to display a featured image for the content in the block. If the option is toggled on, you’ll have options to display the caption and/or photo credit for the images.
- In the Post Meta settings, you can choose which information appears with your content:
- Show category: Controls whether the category will be displayed.
- Show author: Controls whether the author’s name will be displayed.
- Show avatar: Controls whether the author’s profile photo will be displayed.
- Show date: Controls whether the date will be displayed.
You can customize the style of the Blog Posts block with the following steps:
- Select the block and open the block settings on the side of the screen.
- Click the Styles icon (it looks like a black and white circle):
- Tweak the settings as desired for:
- Borders – add border lines between individual items of content
- Color
- Typography
- Dimensions
