Text Replace – Find and Replace WordPress Strings
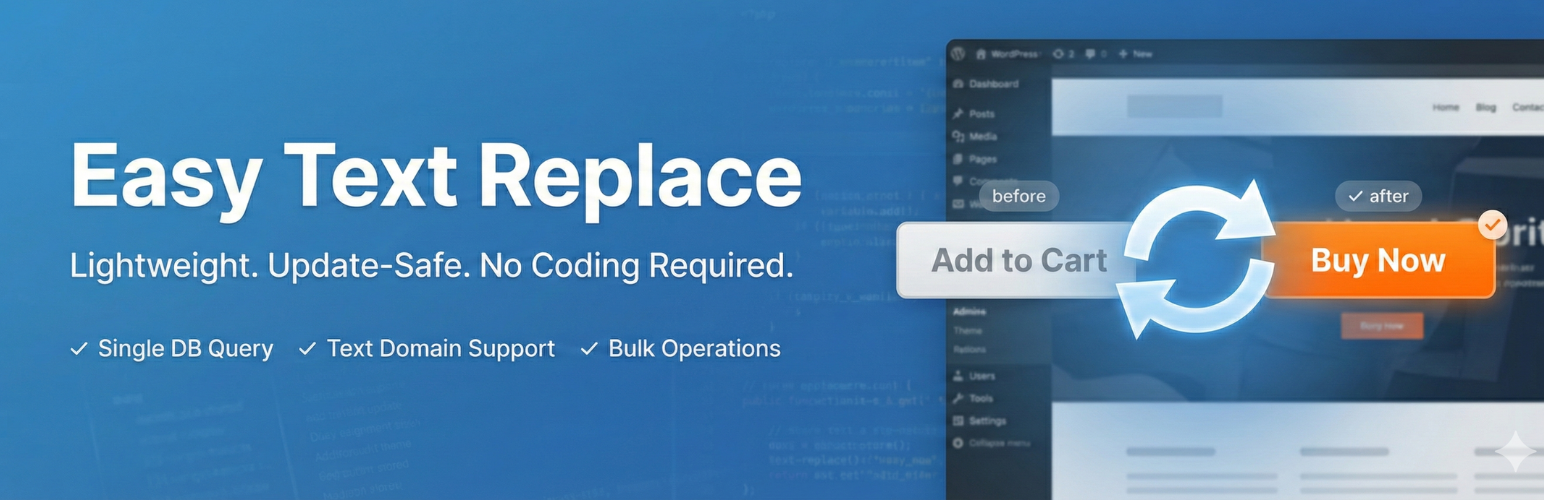
Text Replace is a lightweight, performance-optimized WordPress plugin that lets you find and replace any text string on your website without modifying theme or plugin files. Perfect for customizing WooCommerce buttons, changing form labels, or personalizing any text across your site.
Why Choose Text Replace?
- No Code Editing Required – Find and replace text without touching theme or plugin files
- Update-Safe – Your string replacements survive theme and plugin updates
- Performance Optimized – Single database query per page load with intelligent caching
- Text Domain Filtering – Target specific plugins, themes, or apply changes globally
- Priority Control – Manage the order of multiple text replacements
- Bulk Operations – Enable, disable, or delete multiple replacements at once
- Import/Export – Transfer configurations between sites easily
- Cache Compatible – Works with WP Rocket, W3 Total Cache, WP Super Cache, and more
Perfect For
- Changing WooCommerce “Add to Cart” to “Buy Now”
- Customizing Contact Form 7 button labels
- Replacing WordPress admin bar text
- Modifying theme-specific strings
- Personalizing plugin messages
- Translating or localizing specific phrases
- A/B testing different button labels
Key Features
Simple String Replacement Find and replace any text from themes, plugins, or WordPress core with just a few clicks. No coding knowledge required.
Text Domain Filtering Target specific plugins or themes by their text domain, or apply replacements globally across your entire site. This prevents unintended replacements in other plugins.
Case Sensitivity Control Choose whether replacements should match exact case or be case-insensitive for maximum flexibility.
Priority Ordering Control the order in which replacements are applied using priority numbers (1-999). Lower numbers apply first.
Enable/Disable Toggle Quickly activate or deactivate replacements without deleting them. Perfect for testing and seasonal changes.
Bulk Operations Select multiple replacements and enable, disable, or delete them all at once to save time.
Import/Export Export your replacement configurations to JSON files for backup or transfer to other sites. Import with automatic duplicate detection.
Performance Optimized
- Single database query per page load
- Intelligent 24-hour caching system
- Lazy loading of admin assets
- No frontend JavaScript overhead
- Indexed database for fast queries
- Unlimited replacements with optimized performance
WordPress Native UI
Clean, intuitive interface using WordPress design patterns. Feels like a natural part of WordPress.
Search & Sort
Easily find and organize your text replacements with built-in search and sorting capabilities.
Use Cases
WooCommerce Text Customization
- Change “Add to Cart” to “Add to Bag” or “Buy Now”
- Modify “Proceed to Checkout” to “Complete Purchase”
- Customize product page labels
- Personalize shipping and payment text
- Replace price labels and currency text
- Modify sale badge text
Contact Form 7 Customization
- Change submit button text
- Modify form field labels
- Customize validation messages
- Personalize success messages
- Replace error message text
WordPress Core Text Replacement
- Replace “Howdy” in admin bar
- Change “Dashboard” to “Control Panel”
- Modify menu labels
- Customize admin notices
- Replace login page text
Theme Text Customization
- Change “Read More” links
- Modify navigation labels
- Customize footer text
- Personalize call-to-action buttons
- Replace copyright text
How It Works
Text Replace hooks into WordPress’s translation system (gettext) to intercept and replace text strings before they’re displayed. This means:
- No file modifications – Your theme and plugin files remain untouched
- Update-safe – String replacements persist through updates
- Reversible – Simply disable or delete replacements to restore original text
- Efficient – Replacements are cached for optimal performance
How to Change WooCommerce “Add to Cart” Text
One of the most common uses for Text Replace is customizing WooCommerce button text. Here’s how:
- Navigate to Text Replace > Add New in your WordPress admin
- In the Source String field, enter:
Add to cart - In the Replacement String field, enter your desired text (e.g.,
Buy Now) - In the Text Domain field, enter:
woocommerce - Leave Case Sensitive unchecked (default)
- Set Priority to 10 (default)
- Make sure status is set to Active
- Click Save Replacement
- Clear your site cache if using a caching plugin
- Visit a WooCommerce product page to see the change
Pro Tip: To change “Add to cart” on single products but keep it on shop/archive pages, you’ll need to target the specific string used in that context. Check WooCommerce source code or use browser inspect to find the exact string.
How to Replace Contact Form 7 Button Labels
Customize Contact Form 7 submit buttons without editing form code:
- Go to Text Replace > Add New
- Source String:
Send(or your current button text) - Replacement String: Your desired button text (e.g.,
Submit Message) - Text Domain:
contact-form-7 - Status: Active
- Click Save Replacement
- Clear cache and test your contact form
Note: If you have multiple forms with different button text, create separate replacements for each or leave Text Domain empty to replace globally.
How to Customize Theme Text Without Editing Files
Replace any theme text without touching template files:
- First, identify the exact text you want to replace (copy it exactly as it appears)
- Navigate to Text Replace > Add New
- Source String: The exact theme text (e.g.,
Read More) - Replacement String: Your new text (e.g.,
Continue Reading) - Text Domain: Leave empty for global replacement, or enter your theme’s text domain
- Enable Case Sensitive if exact capitalization matters
- Status: Active
- Save and clear cache
Finding Your Theme’s Text Domain: Check your theme’s style.css file header for the “Text Domain” field.
How to Find Text Domain for Any Plugin
To target a specific plugin with text replacement, you need its text domain:
Method 1: Check Plugin Main File
1. Go to Plugins > Plugin File Editor
2. Select the plugin from dropdown
3. Look for Text Domain: in the file header at the top
4. Copy the text domain value
Method 2: Check Translation Files
1. Navigate to /wp-content/plugins/[plugin-name]/languages/
2. Look for .po or .pot files
3. The filename usually contains the text domain (e.g., woocommerce-en_US.po = text domain is woocommerce)
Method 3: Common Plugin Text Domains
* WooCommerce: woocommerce
* Contact Form 7: contact-form-7
* Yoast SEO: wordpress-seo
* Elementor: elementor
* Advanced Custom Fields: acf
* Gravity Forms: gravityforms
Pro Tip: If you can’t find the text domain, leave it blank to replace the text globally across your entire site.
How to Set Up Multiple Text Replacements
When you need to replace several strings, use priority to control the order:
- Plan your replacements – List all the text you want to change
- Create each replacement – Go to Text Replace > Add New for each one
- Set priorities:
- Use priority 10 for most replacements (default)
- Use lower numbers (1-9) for replacements that should happen first
- Use higher numbers (11-99) for replacements that depend on others
- Use Text Domain filtering – Specify text domain to avoid conflicts
- Test in stages – Enable a few at a time to verify they work correctly
Example Priority Setup: * Priority 5: Replace “product” with “item” (happens first) * Priority 10: Replace “Add to cart” with “Buy Now” (normal priority) * Priority 15: Replace “item price” with “cost” (happens after priority 5 and 10)
How to Replace Text Site-Wide vs Plugin-Specific
Control where your text replacements apply:
Site-Wide Replacement (Global): 1. Create your replacement as normal 2. Leave Text Domain field EMPTY 3. This will replace the text everywhere it appears on your site
Plugin-Specific Replacement:
1. Create your replacement
2. Enter the plugin’s text domain (e.g., woocommerce)
3. Text will ONLY be replaced when generated by that specific plugin
Theme-Specific Replacement: 1. Find your theme’s text domain (check style.css) 2. Enter the theme text domain in the Text Domain field 3. Text will ONLY be replaced in theme-generated content
When to Use Each: * Global (empty text domain): When you want to replace text regardless of source * Plugin-specific: When text appears in multiple places but you only want to change it in one plugin * Theme-specific: When replacing navigation, headers, footers, or theme-specific UI text
How to Test Text Replacements Without Affecting Live Site
Test your replacements safely before going live:
Method 1: Use Enable/Disable Toggle 1. Create your replacement with status Inactive 2. Save the replacement 3. Log out and view your site in an incognito window 4. Log back in and toggle to Active when ready
Method 2: Test on Staging Site 1. Create replacements on your staging site 2. Test thoroughly 3. Export via Text Replace > Import/Export 4. Import the JSON file on your live site
Method 3: Use Priority to Test Incrementally 1. Set test replacements to high priority (90-99) 2. This makes them easy to identify and remove 3. Once tested, adjust priority to normal (10)
Pro Tip: Always clear your cache after making changes, then test in an incognito/private browser window to see changes immediately.
How to Export and Import Text Replacements
Transfer your text replacements between sites easily:
To Export: 1. Go to Text Replace > Import/Export 2. Click Export All Replacements 3. A JSON file will download to your computer 4. This file contains all your active and inactive replacements
To Import: 1. Go to Text Replace > Import/Export on the destination site 2. Click Choose File and select your exported JSON file 3. Click Import 4. The plugin will automatically detect and skip duplicates 5. New replacements will be imported with all settings intact
Use Cases for Import/Export: * Transfer replacements from staging to production * Backup your replacements before major updates * Share replacement configurations between multiple sites * Migrate from one server to another
Pro Tip: Export your replacements monthly as a backup. Store the JSON file in your site backups.
How to Find and Replace Text in WooCommerce Emails
Customize WooCommerce email text without editing templates:
- Identify the exact text in the email you want to change
- Go to Text Replace > Add New
- Source String: The email text (e.g.,
Thank you for your order) - Replacement String: Your custom text (e.g.,
Thanks for shopping with us!) - Text Domain:
woocommerce - Status: Active
- Save and send a test email
Common WooCommerce Email Strings: * “Order received” → Your custom text * “Payment method” → Your custom text * “Billing address” → Your custom text * “Order details” → Your custom text
Testing: Use WooCommerce > Settings > Emails > Send test email to verify changes.
Developer Friendly
Includes hooks and filters for developers:
etrp_replacement_text– Filter text before replacementetrp_replacement_result– Filter text after replacementetrp_active_replacements– Modify active replacements arrayetrp_max_replacements– Adjust maximum replacement limit (default: unlimited)etrp_before_replacement_apply– Action before replacementetrp_after_replacement_apply– Action after replacement
Example: Programmatically Add Replacement
`php
add_filter(‘etrp_active_replacements’, function($replacements) { $replacements[] = array( ‘source’ => ‘Add to cart’, ‘replacement’ => ‘Buy Now’, ‘text_domain’ => ‘woocommerce’, ‘case_sensitive’ => false, ‘priority’ => 10 ); return $replacements; }); `
Support
Need help? Visit our support forum for assistance.
Privacy Policy
Text Replace does not collect, store, or transmit any personal data. All replacement configurations are stored locally in your WordPress database.
Credits
Developed with ❤️ for the WordPress community.
Support
For bug reports, feature requests, and support, please visit: Support Forum
Translations
Text Replace is translation-ready and includes: English (default)
Want to translate Text Replace into your language? Visit WordPress Translate.