Use this guide to set up iCloud Mail with your WordPress.com-hosted domain name. Alternatively, pick one of our email solutions and we’ll set it up automatically.
In this guide
Have a question?
Ask our AI assistantWhen adding a domain name to use with iCloud Mail, Apple requires that you add a set of DNS records (specifically, MX, SPF, and CNAME (DKIM) records) to your domain name.
To make this process easier, we can add these records for you automatically. You will only need to provide one TXT record from Apple.
This record starts with “apple-domain=” followed by a unique string of letters and numbers. To locate this record, look for the “Custom Email Domain” setting, which varies depending on which Apple service and device you are using. If you cannot find this record, consult the Apple support guides.
Once you have this TXT record, proceed to the next section of this guide.
To set up a WordPress.com domain name with iCloud Mail, take the following steps:
- Go to your site’s dashboard.
- Navigate to Upgrades → Domains.
- Here, click on the domain name you’d like to use with iCloud Mail.
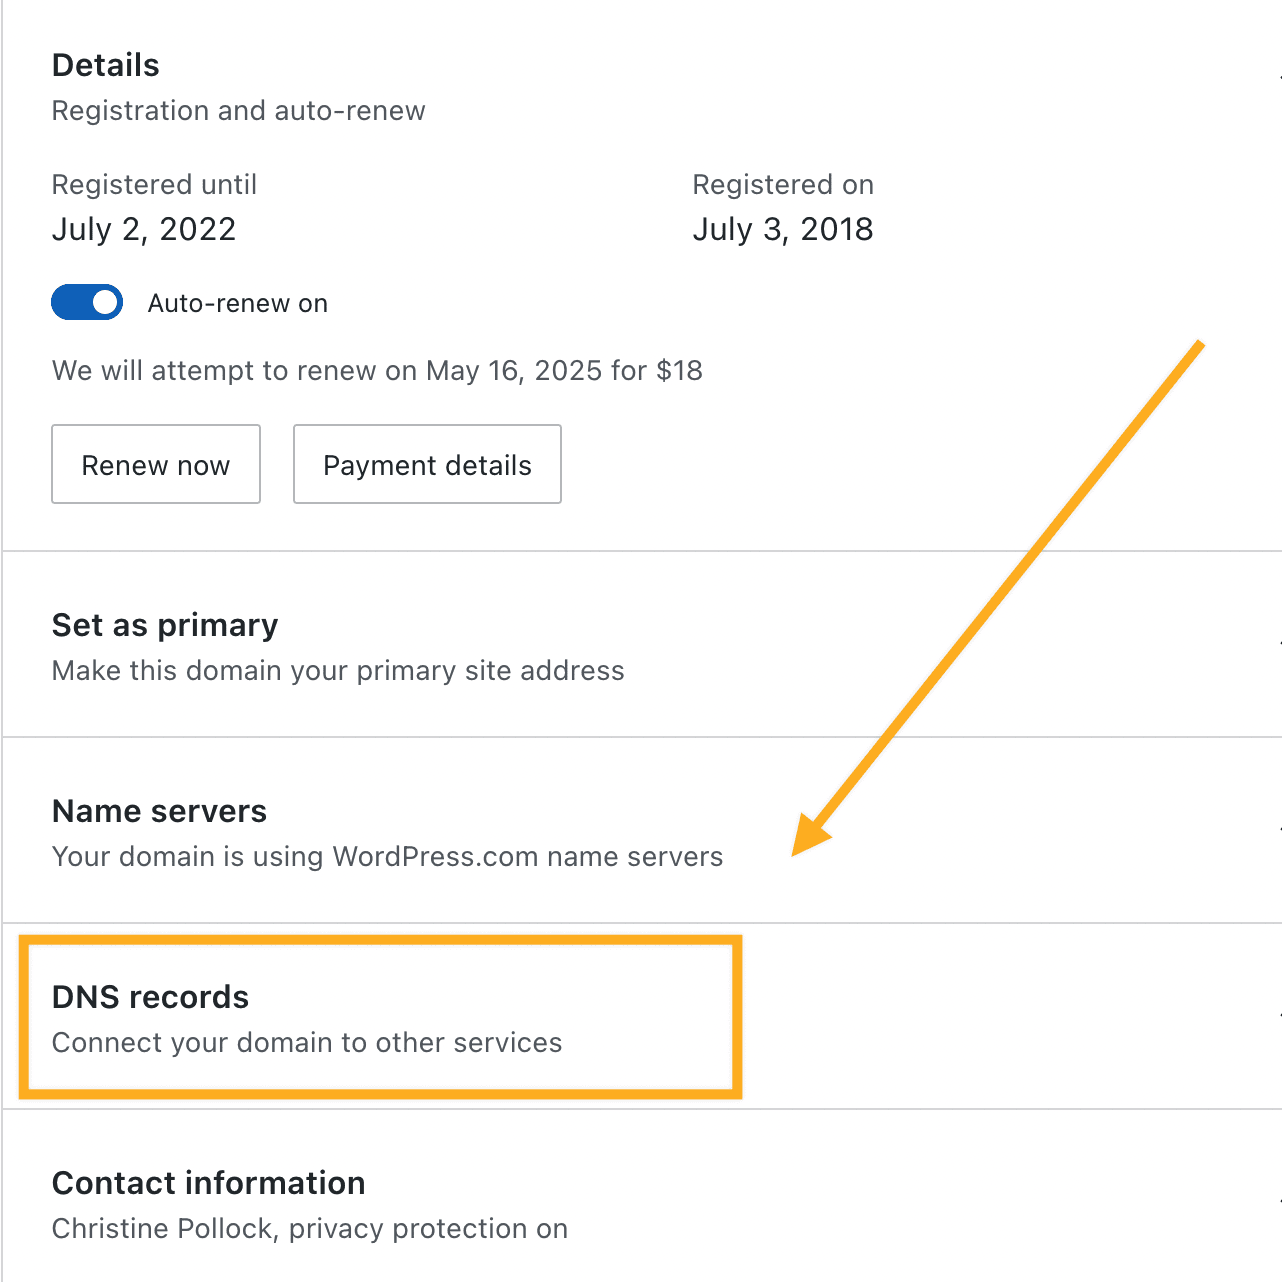
- Click on “DNS records” and then the “Manage” button:
- Scroll down to the bottom of the screen and click on “Email setup.”
- Here, you’ll find some buttons for setting up different email services. Click on the “iCloud Mail” tab.
- Paste your unique code (TXT record) into the box that appears below.

- Click the button that says “Set up iCloud Mail.” We will then add the required MX, SPF, and CNAME (DKIM) records for Apple mail to your domain name’s DNS records.
